How a Simple Rubber Patch Can Save Your Garden (And Your Sanity)
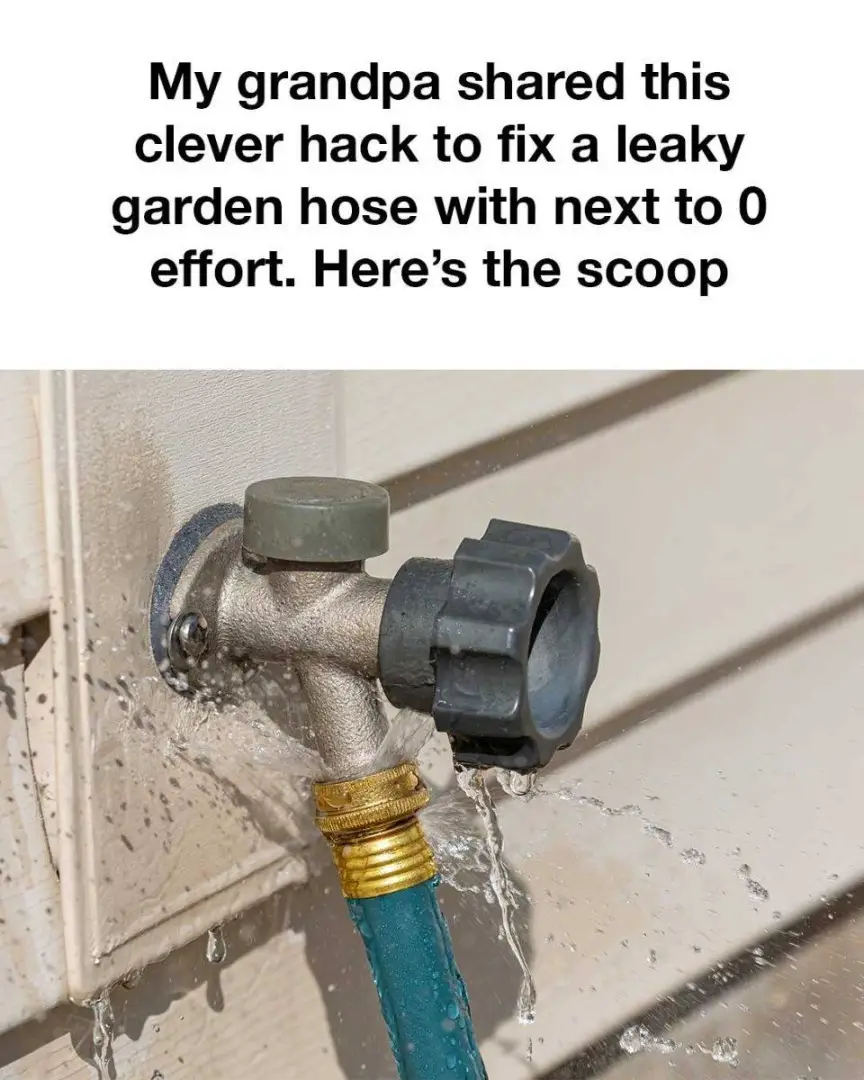
If you’ve ever stood in the middle of your garden, hose in hand, only to realize water is spraying everywhere except your plants, you’re not alone. A leaky garden hose can turn a peaceful watering session into a frustrating chore. For seasoned gardeners, it’s a common enemy. But as I learned from my grandpa — a gardening veteran who never bought a replacement hose unless it was truly beyond saving — the fix is much simpler than you’d think.
This article walks you through his brilliant, low-effort trick to fix a leaky hose using just a few basic materials you probably already have at home. It’s cheap, fast, and even a complete beginner can pull it off. And trust me — once you know this trick, you’ll never toss a hose again just because of a small leak.
The Annoying Reality of Hose Leaks
Garden hoses are prone to wear and tear. Whether it’s from being left out in the sun, run over by a wheelbarrow, or twisted at odd angles, sooner or later, even the best hoses develop leaks. These small splits or holes might not seem like a big deal at first, but they quickly waste gallons of water and ruin your hose pressure — not to mention your mood.
Leaks also tend to show up at the worst times, like during peak summer when your plants desperately need hydration. And while hose repair kits exist, they often cost almost as much as a cheap new hose. That’s where Grandpa’s timeless wisdom comes in.
Grandpa’s Brilliant Hose Repair Trick
The beauty of this method is its pure simplicity. You don’t need any special tools or engineering skills. Just these few items:
- A piece of rubber (from an old bike inner tube, an old glove, or even a balloon in a pinch)
- Waterproof adhesive or silicone sealant
- Scissors
- Optional: a hose clamp or zip tie for added pressure
That’s it.
Step-by-Step: How to Seal the Leak
- Find the Leak:
Connect your hose and turn on the water. Slowly walk along its length and watch closely for any spraying water. Mark the exact spot. - Turn Off the Water and Dry the Area:
Shut the water off and use a dry towel to wipe the hose around the leak. You want it completely dry — moisture will prevent the adhesive from sticking. - Prepare the Patch:
Cut a piece of rubber that covers at least 2 cm around the leak on all sides. This helps the seal hold under water pressure. - Apply the Adhesive:
Use a generous amount of waterproof glue or silicone on and around the leak. Immediately press the rubber patch over the area and hold firmly for 1–2 minutes. - Optional Reinforcement:
For added pressure, wrap a zip tie or small hose clamp over the patch. - Let It Cure:
This step is crucial. Follow the adhesive’s instructions — usually 12 to 24 hours — before turning the water back on.
Once cured, your hose is ready to go. You’ll be amazed how well this trick works — no fancy equipment, no expensive fix.
Why This Fix Works So Well
What makes this method so effective isn’t just the materials — it’s the simplicity. Anyone can do it. The rubber patch, when combined with a waterproof adhesive, forms a flexible yet tight seal. This holds even under water pressure, which is key for long-term use.
Compare that to complex plastic connectors or overpriced kits, and you’ll quickly see why Grandpa’s fix stands the test of time.
The Hidden Bonuses of This Method
- It’s Practically Free:
Most of us already have an old bike tube or some silicone lying around. Even if you have to buy a sealant, it’s far cheaper than replacing the whole hose. - It Reduces Waste:
Fixing instead of replacing means less plastic ends up in landfills. - It Saves Time:
No need to go to the hardware store. This can be done in 15 minutes (plus curing time) with items at home.
Common Mistakes to Avoid
Even though it’s simple, there are a few ways this trick can go wrong if you rush it:
- Skipping the Drying Step:
If the hose is wet, the glue won’t stick properly, and the patch will fall off under pressure. - Using the Wrong Glue:
Regular super glue or school glue won’t work. You need waterproof, flexible adhesive or silicone. - Not Letting It Cure:
Be patient. Turning on the hose too early ruins all your effort.
Bonus Tips: How to Prevent Hose Leaks in the Future
Now that you’ve fixed your hose, keep it in good shape:
- Always coil it neatly: Prevents kinks and pressure points.
- Store it in shade: UV rays degrade rubber and plastic quickly.
- Avoid dragging it: Don’t pull your hose across rocks or sharp edges.
- Use a hose reel: It reduces stress on the connections and extends the hose’s life.
Final Thoughts: The Old Ways Still Work
As someone who once thought a leaky hose meant buying a new one, I’m amazed at how effective this simple trick has been. It’s a reminder that sometimes the old-school methods — the ones passed down from grandparents who made do with what they had — are the best ones.
So the next time your hose springs a leak, don’t panic. Don’t spend money you don’t need to. Just grab some rubber, a bit of adhesive, and channel your inner handyman — or handy-grandpa.
Because let’s be honest: if something this simple works, why complicate it?


